How to Create Thumbnails and Overlays for Your Live Stream
Make the most of thumbnails and overlays by using attractive images, text, and graphics before, during, and after your streams, and move one step closer to becoming a professional streamer!

With over 300 videos uploaded on YouTube every minute viewers pick their favorites within a few seconds, based on just one element. If you guessed thumbnails, congratulations you’ve mastered the first to become a good streamer — understanding your viewers behavior.
Simply put, thumbnails show a glimpse of the entire video. If the video is the book, the thumbnail is the cover. So your goal as a streamer is to create the most attractive thumbnails and catch your viewers attention amongst the sea of videos.
Here are three things your thumbnails must do:
- Give a glimpse of the main topic of the video
- Use attractive images or illustrations
- Make the viewer want to know more
Now that you have a brief idea of what a thumbnail should do, let’s look at thumbnails that get the most attention.
Custom thumbnails explained
YouTube provides users the option to pick a thumbnail from the video. This requires little to no effort but it doesn’t make your video stand out. There’s nothing wrong with using a shot from your actual video as a thumbnail, but these shots don’t convey much by themselves.
Sometimes you need text and graphics to explain what is going in the thumbnail. That’s when custom thumbnails come into picture. Like the name suggests you can customize everything about a thumbnail — image, text, stickers, elements etc.
If you are still wondering if you should use custom thumbnails, remember that 90% of the best-performing videos have custom thumbnails, as reported by YouTube.
How to create eye-catching thumbnails for your live streams
- Check quality and size
Keep your thumbnails in 1280 x 720-pixel size (16:9 ratio) to have the same high-quality look on desktop and mobile. Use .JPEG, .PNG, .GIF, or .BMP format and keep the file under 2MB for best results.
2. Choose a catchy image
This is the primary background image of your thumbnail which has to catch the viewer’s attention in a split second. As a rule, selected images should also be a part of your video (we don’t want to clickbait the viewers, right?). For best results, select an image which has expressive human faces and proper lighting. Tip: Thumbnails with real people tend to do well when it comes to views.

3. Make your designs consistent
If you have paid attention to YouTube in the last few years, you must have seen that it’s very easy to recognize a big creator's video. That’s because they upload similar kinds of thumbnails for their videos — which means they use the same graphics, overlays, fonts, image placement, colors, etc. This helps creators in building a recognizable personal brand. Not only this, viewers can also remember and recall the streamer’s name as soon as they see the thumbnail.

4. Overlays and text
Sometimes text blends into the image and becomes unreadable for the viewer to read the thumbnail. To avoid this, remember to use overlays, fonts, and colors that stand out over the main image. For instance, check out how Sc0ut has used blue text on a white overlay to convey the main topic of his video. P.S: Look at how he has used expressive faces too! Wouldn’t you want to click on to see their reaction?

Now that you know the things you should keep in mind while creating your thumbnails, here are 3 simple tools you can use to get started!
- Canva - This free graphic design tool already has hundreds of thumbnail templates that you can choose from or edit as you like. It also offers free photos, illustrations, lines, shapes, frames, elements, texts, etc to help you create thumbnails from scratch. And the best part is you don’t have to be an expert to use this tool, it’s very simple and intuitive.
- PicMonkey - Like Canva, PicMonkey also has several template thumbnail options that you can customize. One serious advantage of this tool is its several facial beautification tools to help you fix your photos.
- Fotor - Fotor has all advanced editing features along with impressive themes. It also offers cloud storage support and fast exporting speed.
How to use overlays in your streams
So you have created attractive thumbnails, but how do you convey information to your viewers during your streams? Well, overlays can solve your problem.
Overlays are graphics (in PNG, JPG, GIF, or video formats) that are used before, during, and after a live stream.
Overlays before streaming
These are start screens that are used to indicate that the stream is beginning. It keeps your viewers engaged while you set up and go live.

Overlays during streaming
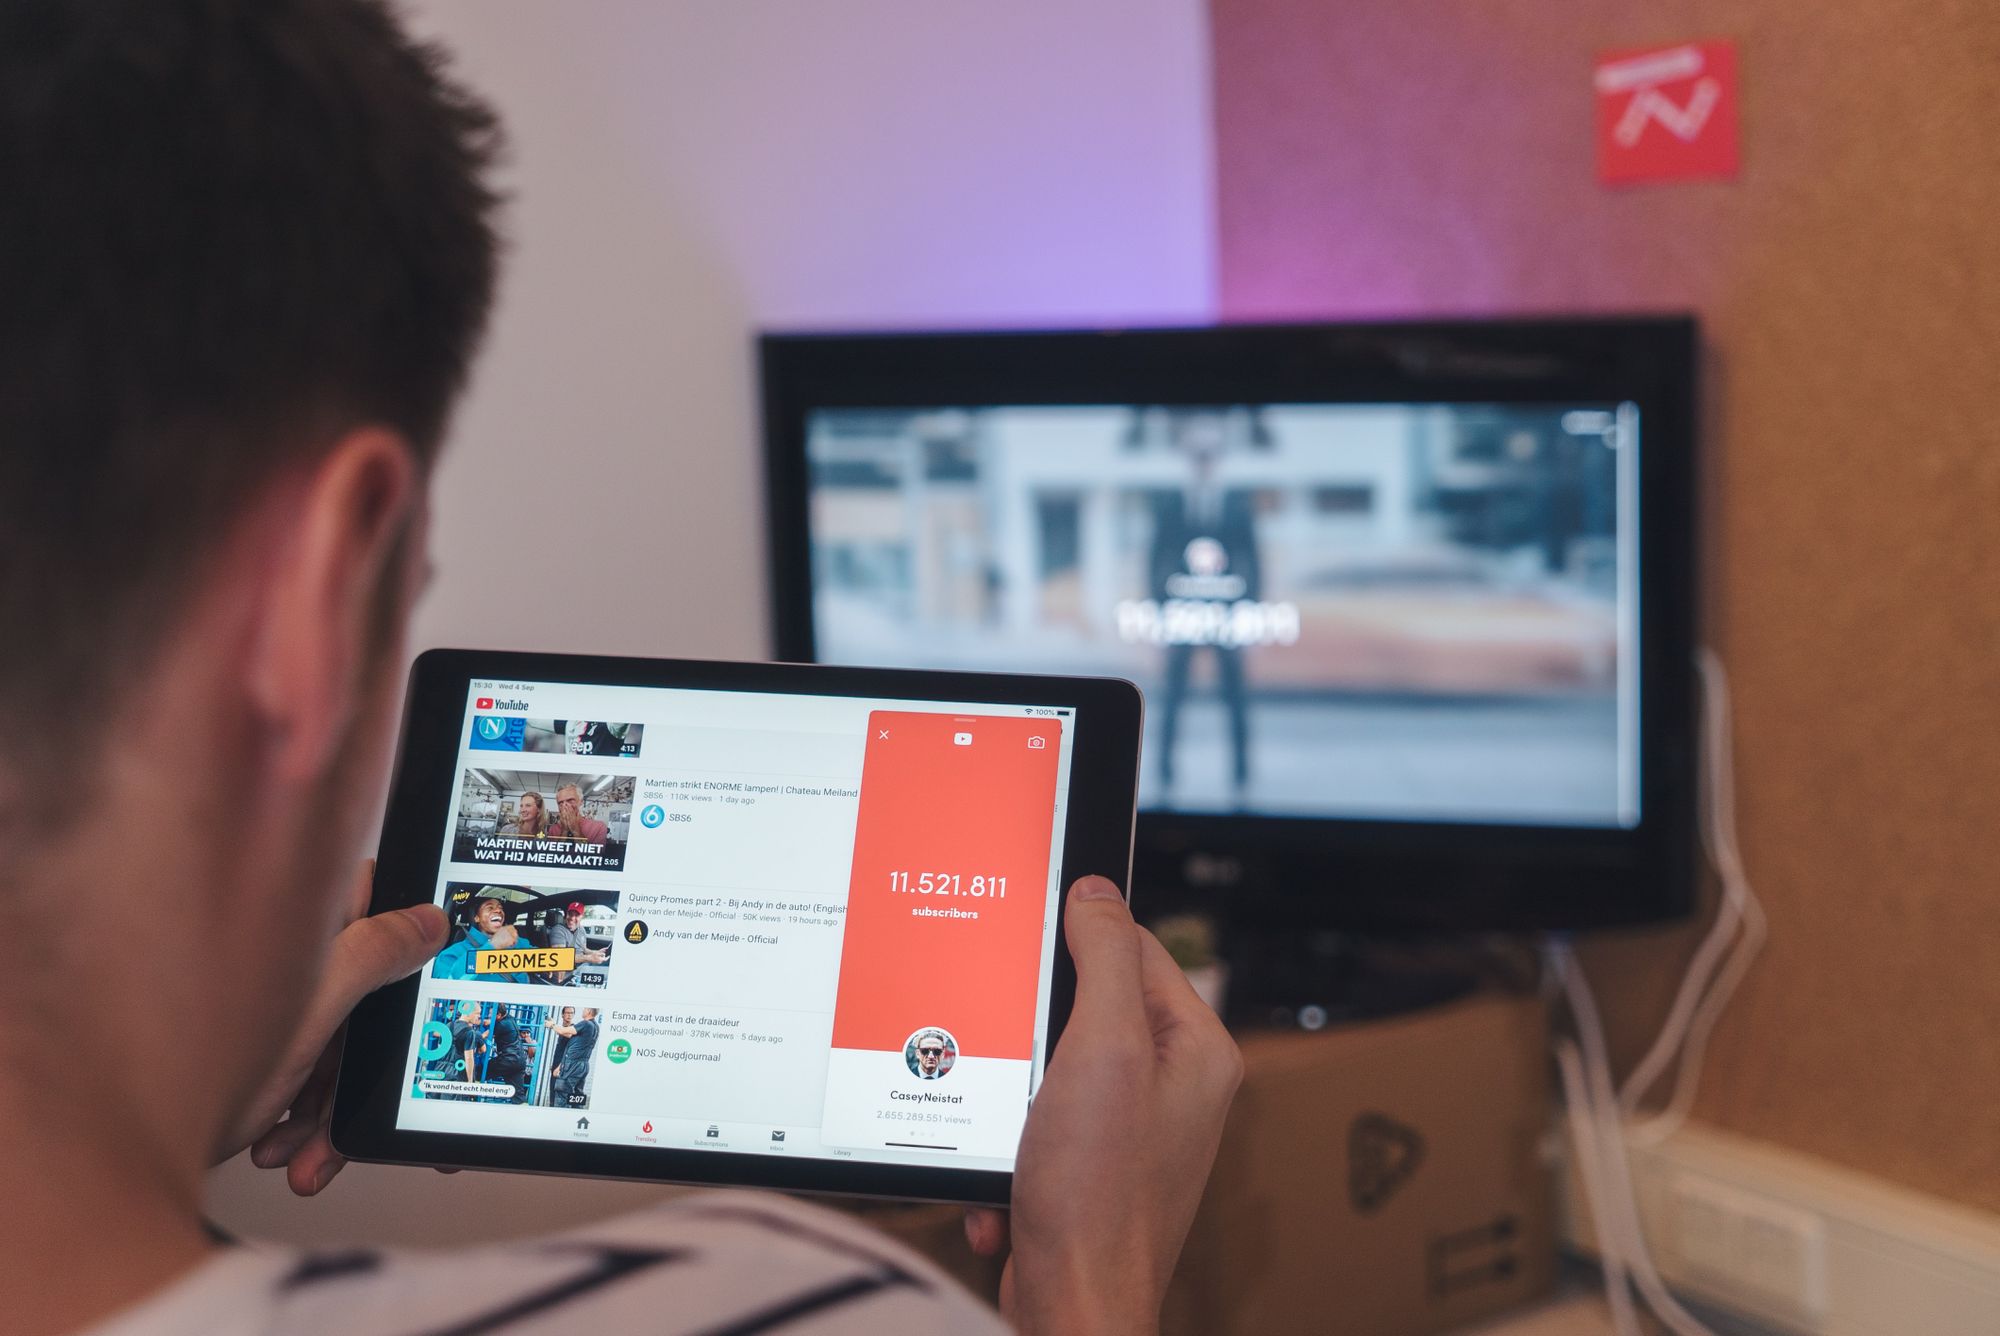
These are graphics used to showcase information such as your channel name, incoming donations, chats, subscriber count, etc. It helps you to see the engagement on your channel in real-time. For instance, you can see how YouTuber Samay Raina has used an overlay to display information about the latest superchat, subscribers, and live viewers count right on top of his live stream.

Overlays after streaming
These are end screens to let your viewers know that the stream has finished. You can also display your social media handles on overlays to expand your following and connect with users over other social media platforms.

Pro tip: Turnip app helps you put custom and ready-made overlays in your live stream to help you stream without any extra effort! Check out Turnip’s themed overlays

In a nutshell
Thumbnails and overlays are a small yet important addition to attract your viewer’s attention and to convey important information in a snapshot. Make the most of thumbnails and overlays by using attractive images, text, and graphics before, during, and after your streams, and move one step closer to becoming a professional streamer!